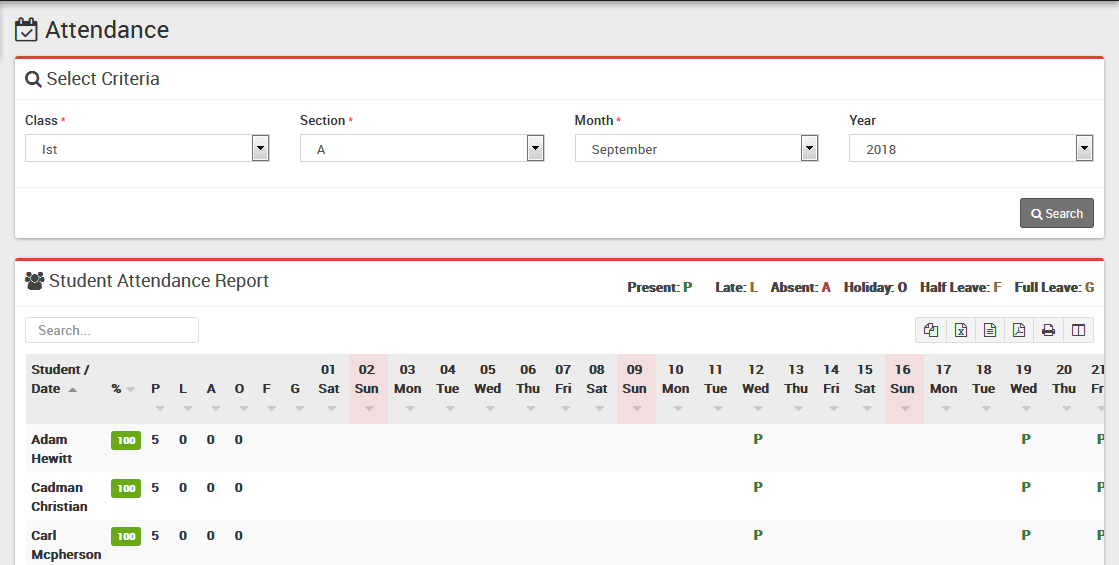
LabCare Express Doctors
Almost all the tests are referred by Doctors.To keep track of Tests sent by particular Doctor list of Doctors is predefined.It made easy New Report entry.
On the Dashboard click on Doctor icon and list of Doctors will be opened as following.All the Doctor related operations will be done here.
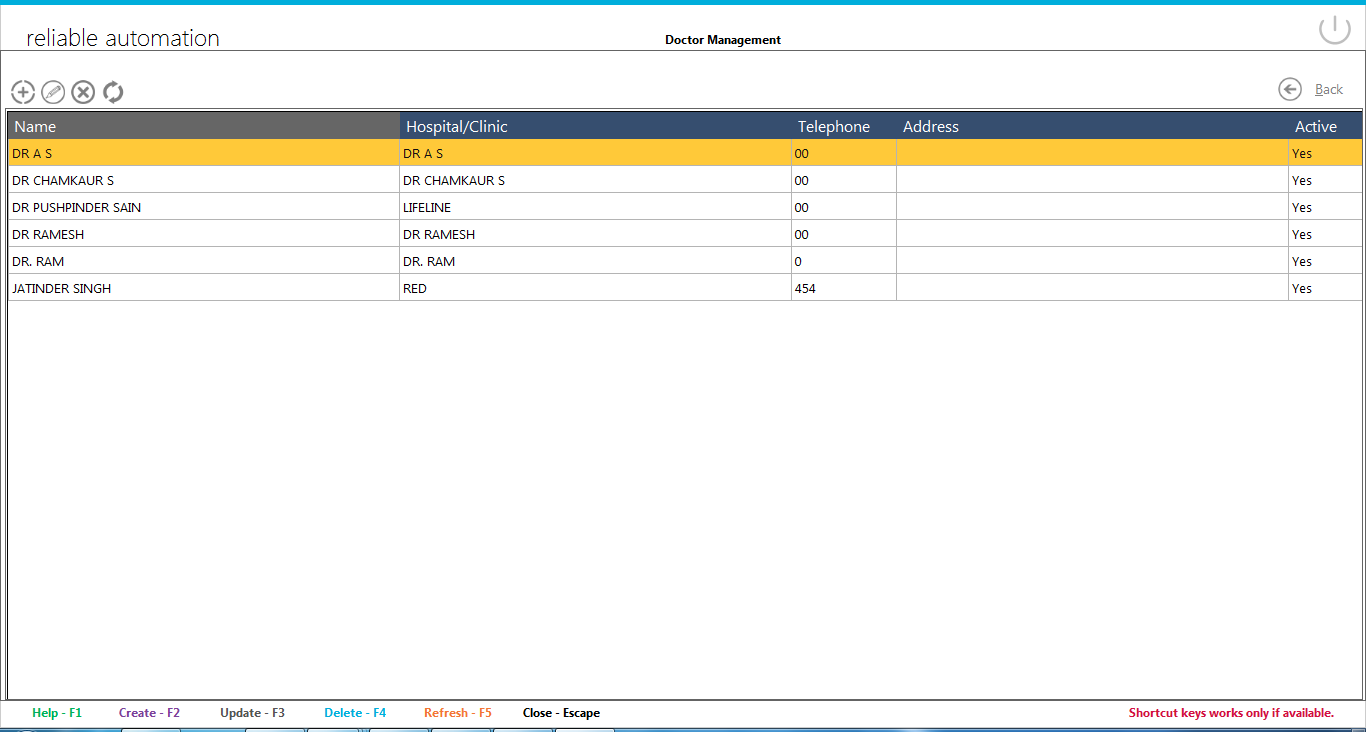 Above the list on left side are Four icons of Doctor operation.These are :
-
Add Doctor: To add new Doctor,click on it
-
Edit Doctor : To edit existing Doctor, First select that Doctor from list then click on it.
-
Delete Doctor : To delete existing Doctor, First select that Doctor from list then click on it.
-
Refresh/Reload Doctor List : To reload/refresh the list click on it.List will be refreshed after the above three operations.
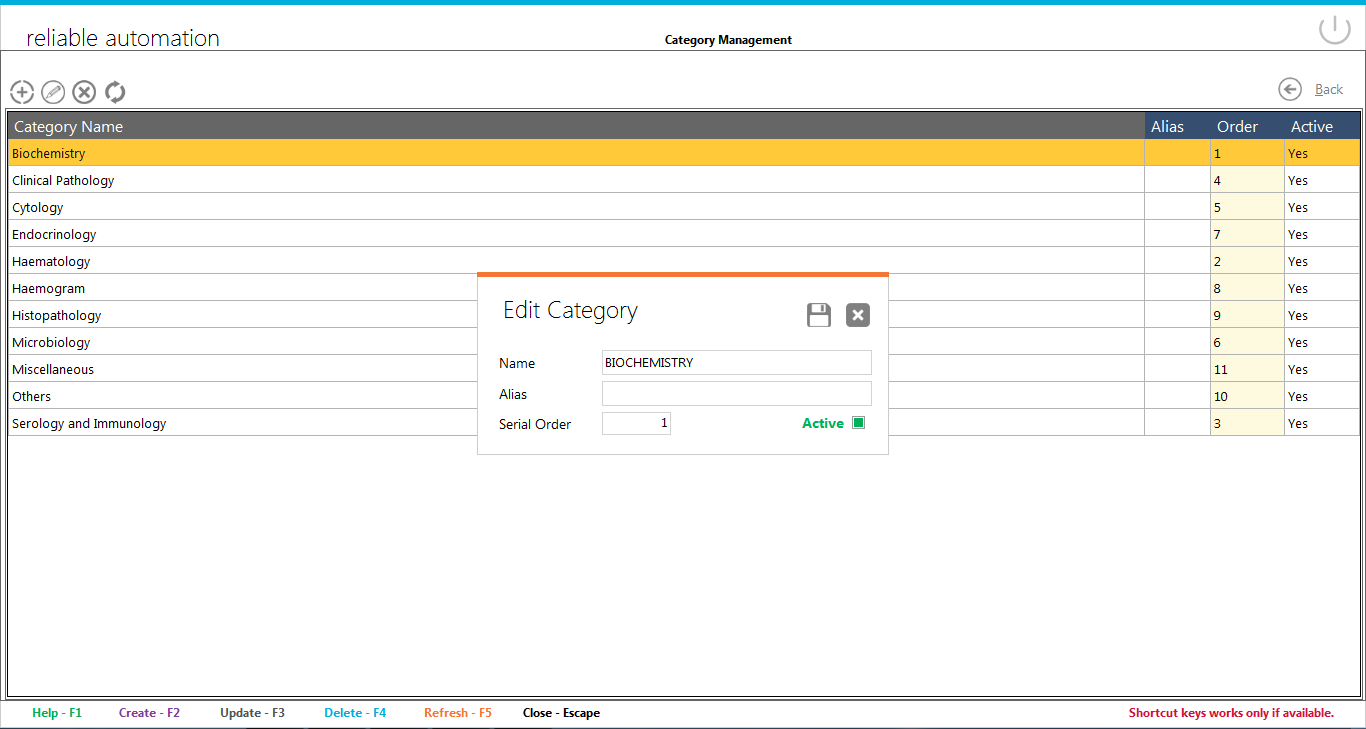
Add/Edit Doctor
Clicking on add new Doctor or edit Doctor will open window like following:

Add/Edit Doctor Name
Two boxes are there for Doctor.First box is for test performed in-house and second is for test sent to other labs.
Enter hospital name.
Telephone/Mobile number are optional.
Add hospital address.
Doctor will be visible in listing only if it is set to Active.
Note: If Doctor details are used in any report then some of the details not possible to change.
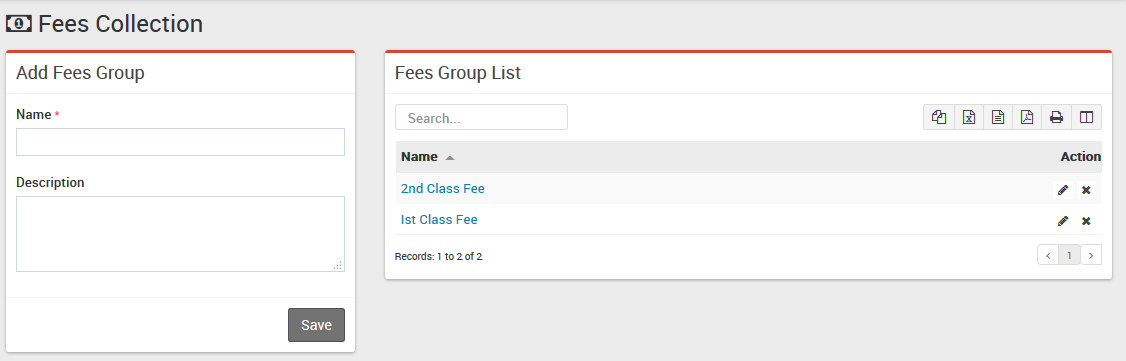
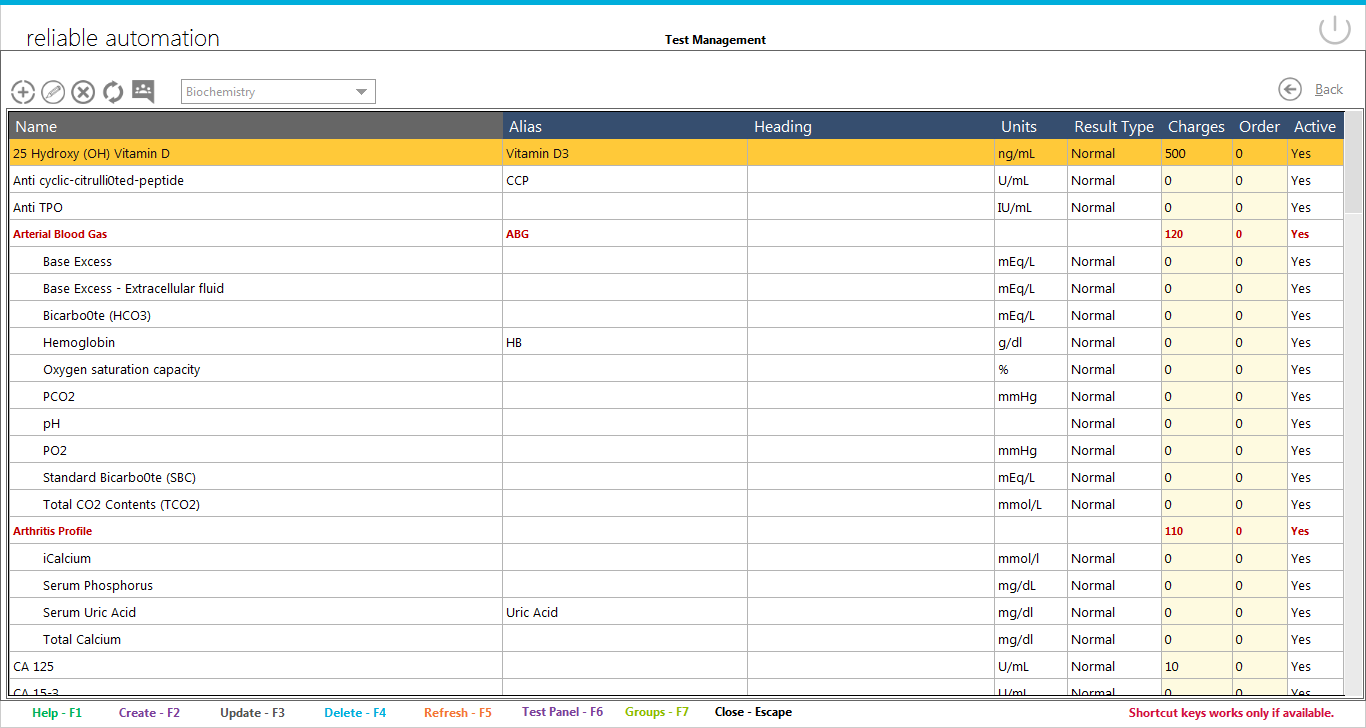 Above the list on left side are Four icons of group operation.These are :
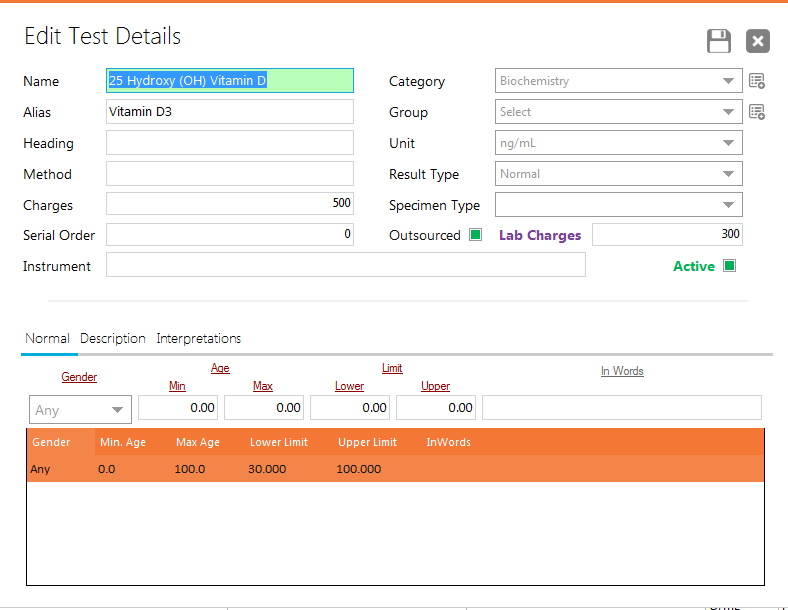
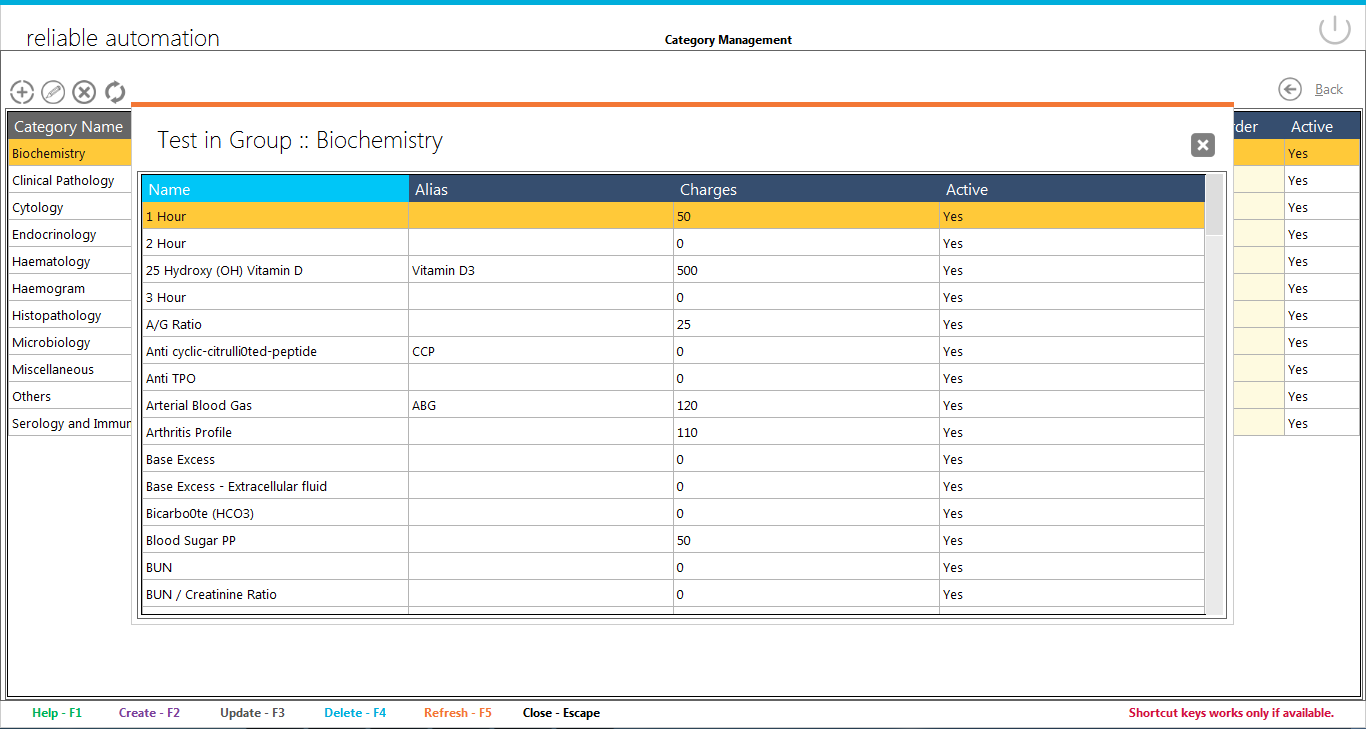
 You can see following shortcuts/icons here


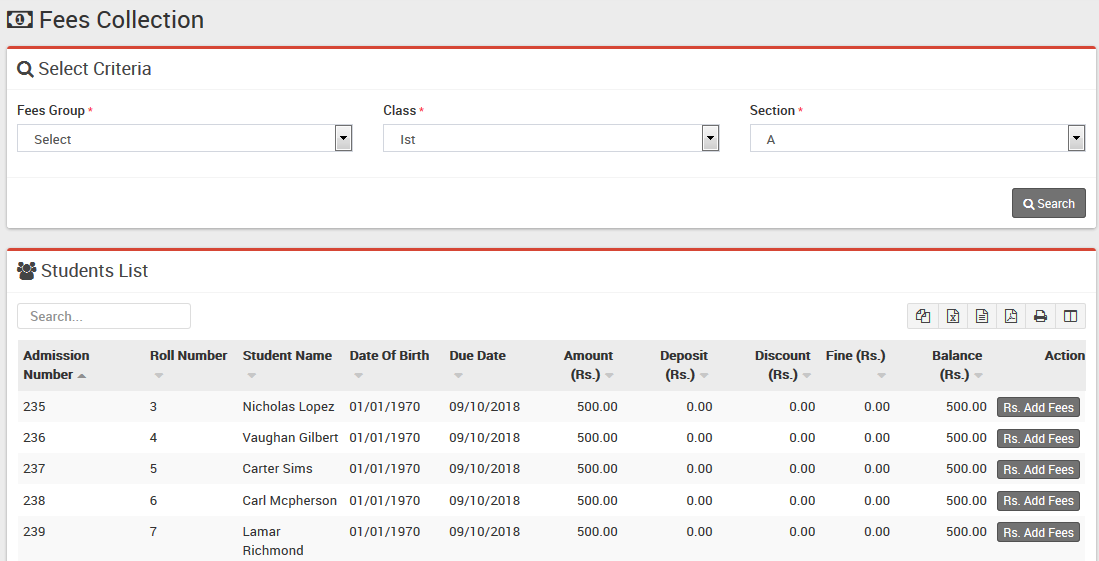
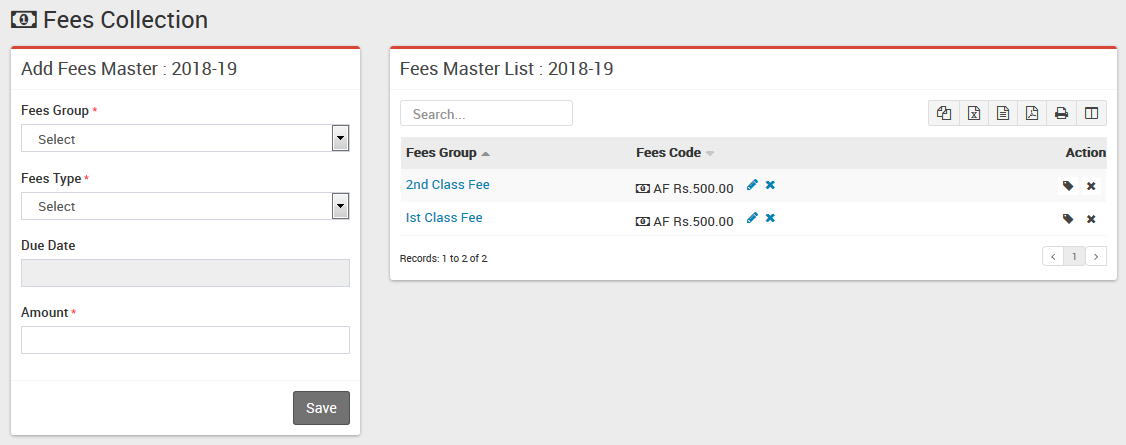 To assign/allocate Fees Group click on Assign/View button from Action column. Now at next page select Class then Section and click on Search button. Now select the students on which you want to assign/allocate this Fees Group then click on Save button.
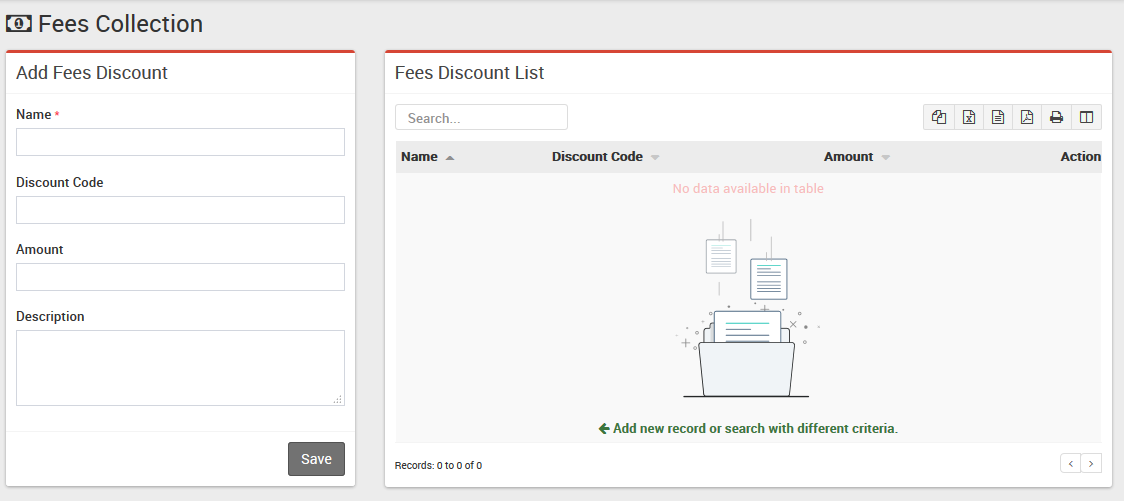 On Next page select Class and Section then click on Search button. After Search select students on which this discount have to be applied then click on Save button